Settings
Settings
Google API Integration
Note:
This setup process is required only once. After successful configuration, the system will automatically maintain the Google Drive connection for future sessions.
Google Drive Integration
TabsyPOS seamlessly integrates with Google Drive for secure data backup.
To enable this integration, you need to create a Google Client ID from the Google Cloud Console. Follow the steps below to complete the setup.
Step 1: Create or Select a Project
Go to the Google Cloud Console.
If you don’t have a project, click “Create Project.”
Enter a project name - for example: TabsyPOS - and click Create.
Location (Organisation), You can leave this as the default.
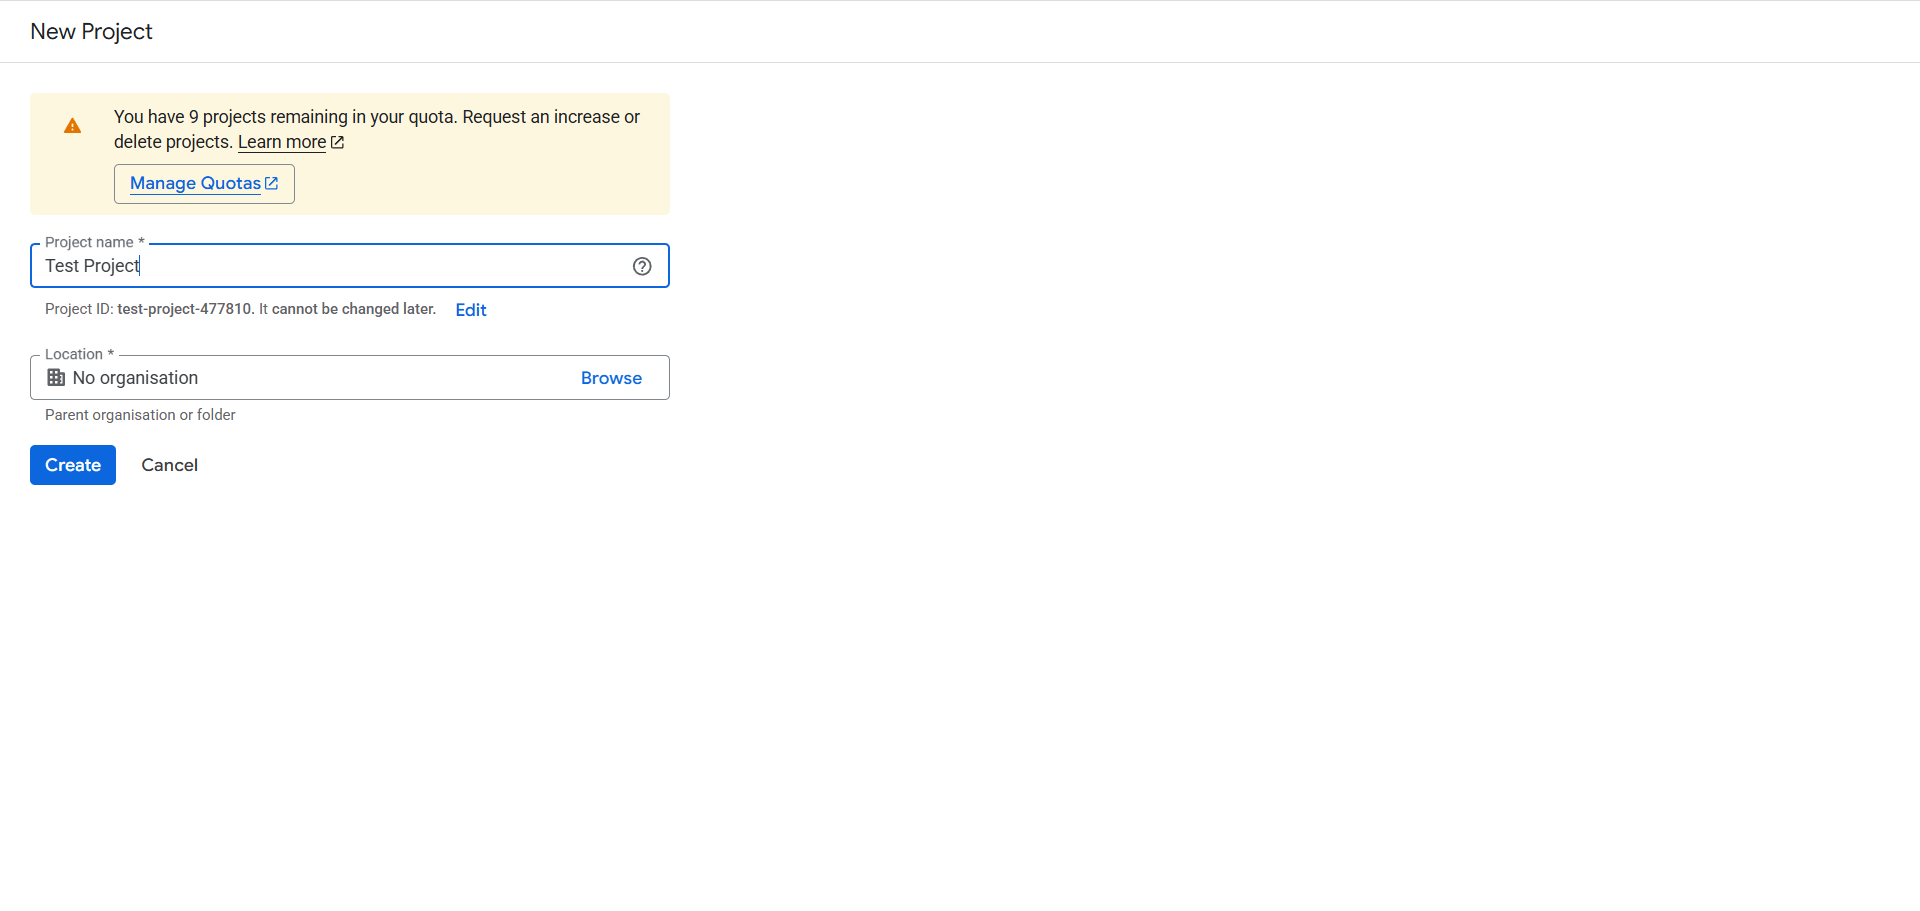
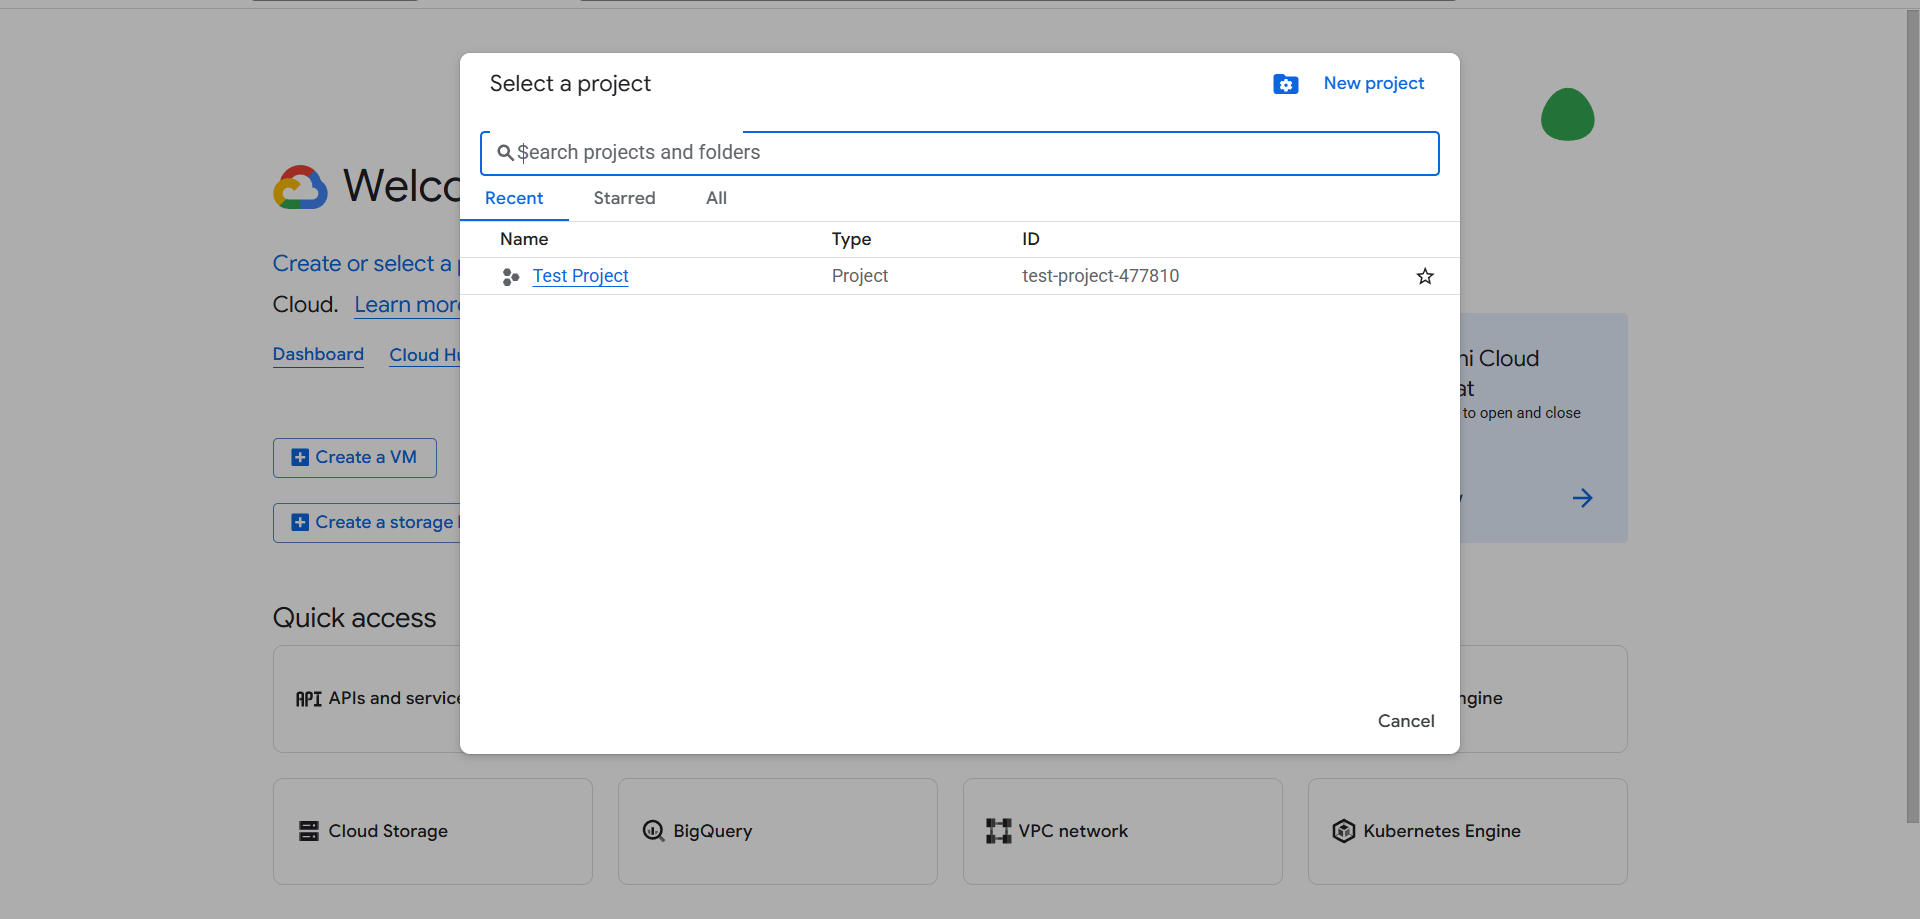
Once the project is created, make sure it’s selected in the top navigation bar.

Step 2: Enable the Google Drive API
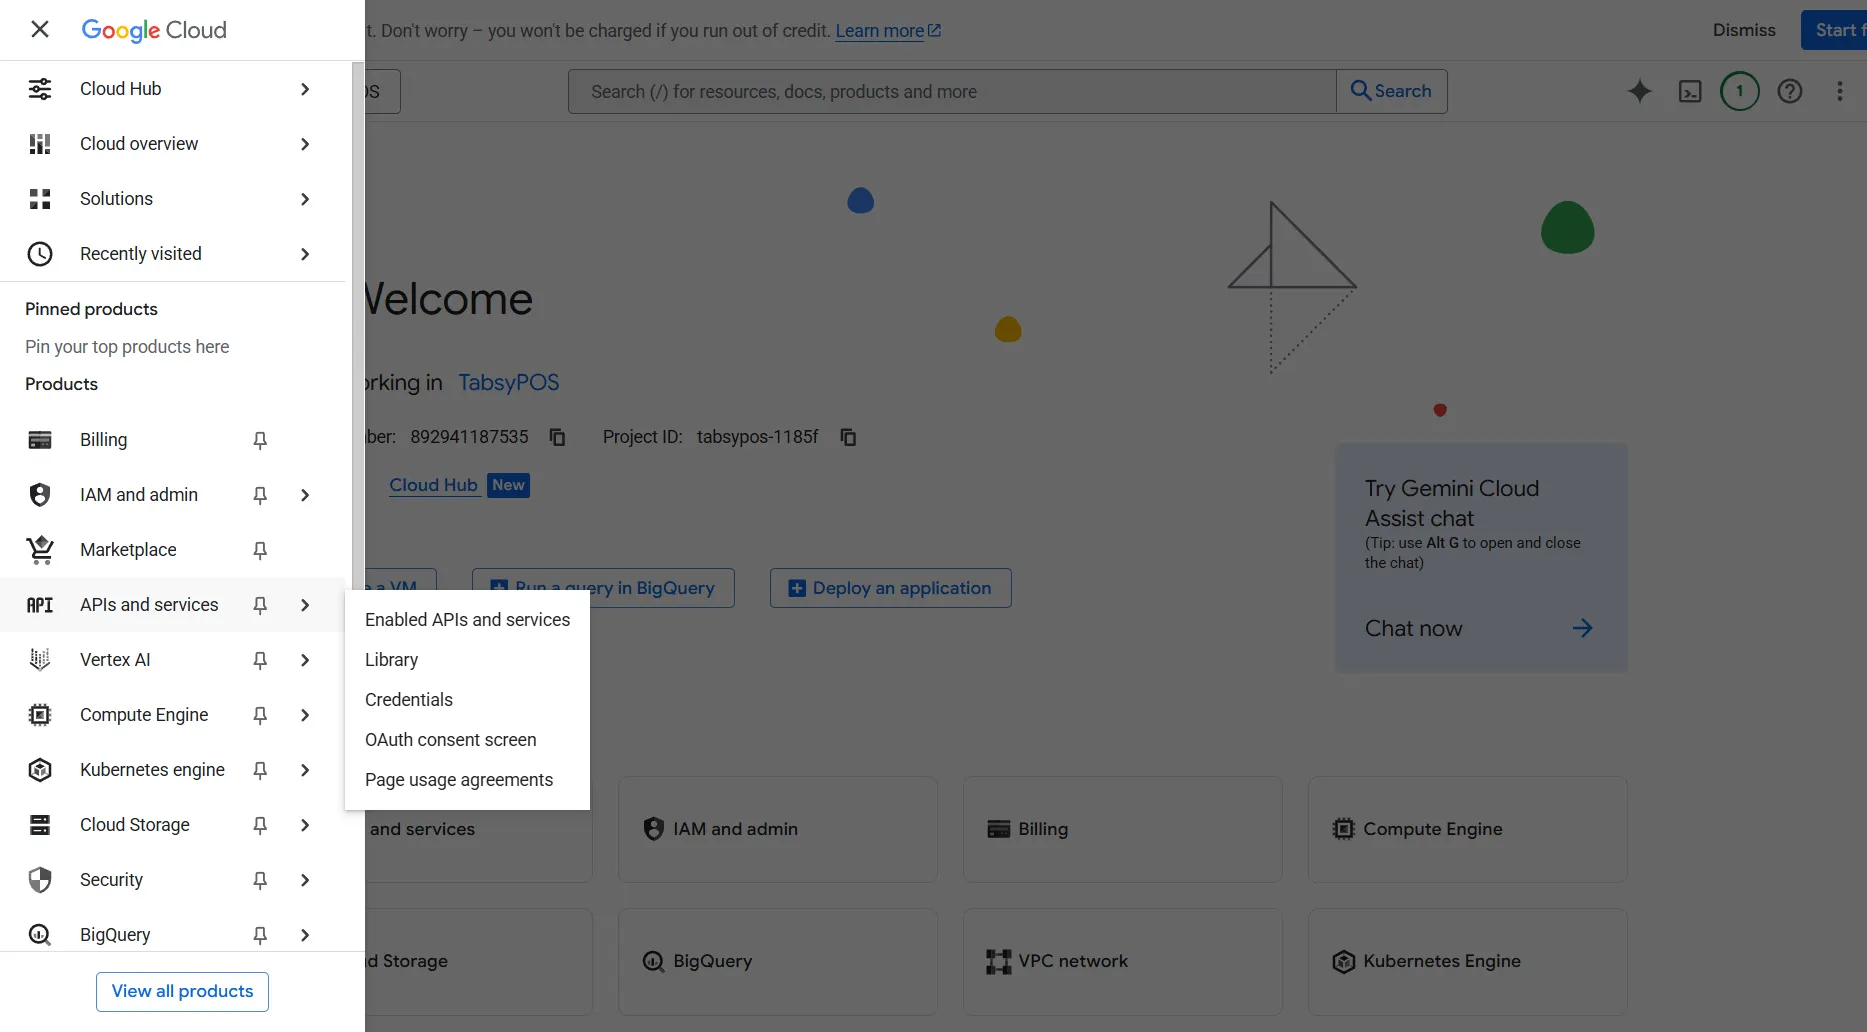
From the left sidebar, go to APIs & Services → Library.
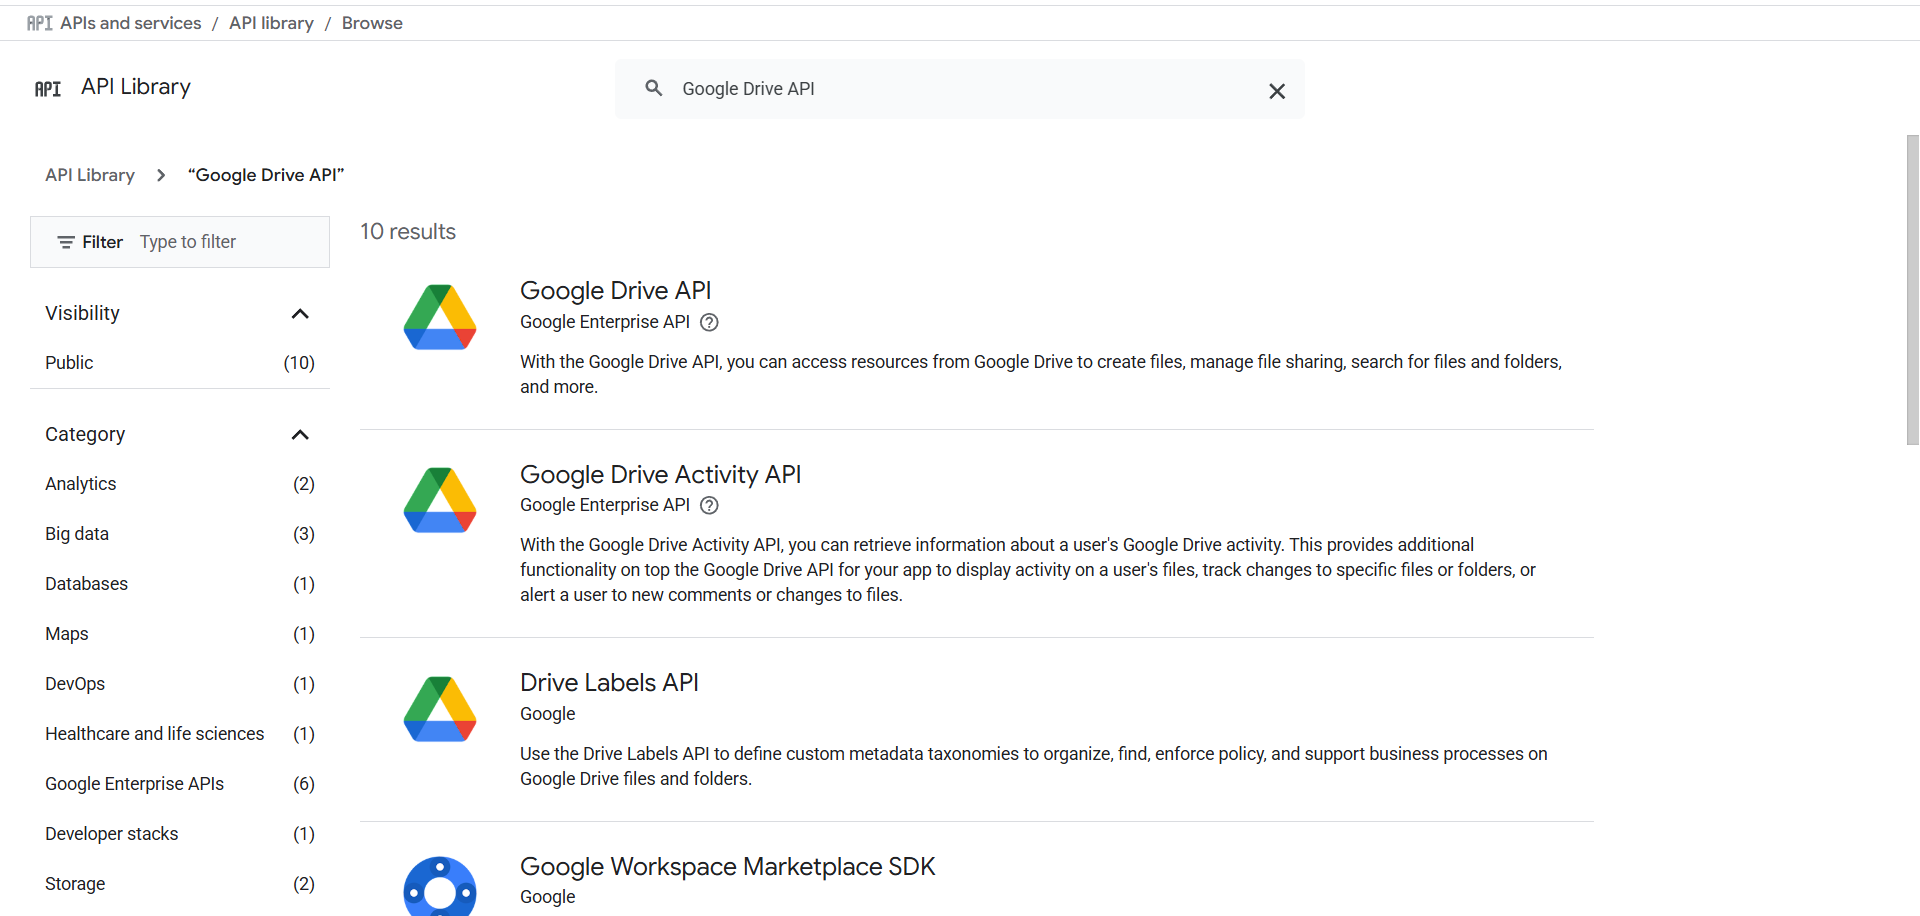
In the search bar, type Google Drive API and select it from the results.
Click Enable to activate the Drive API for your project.
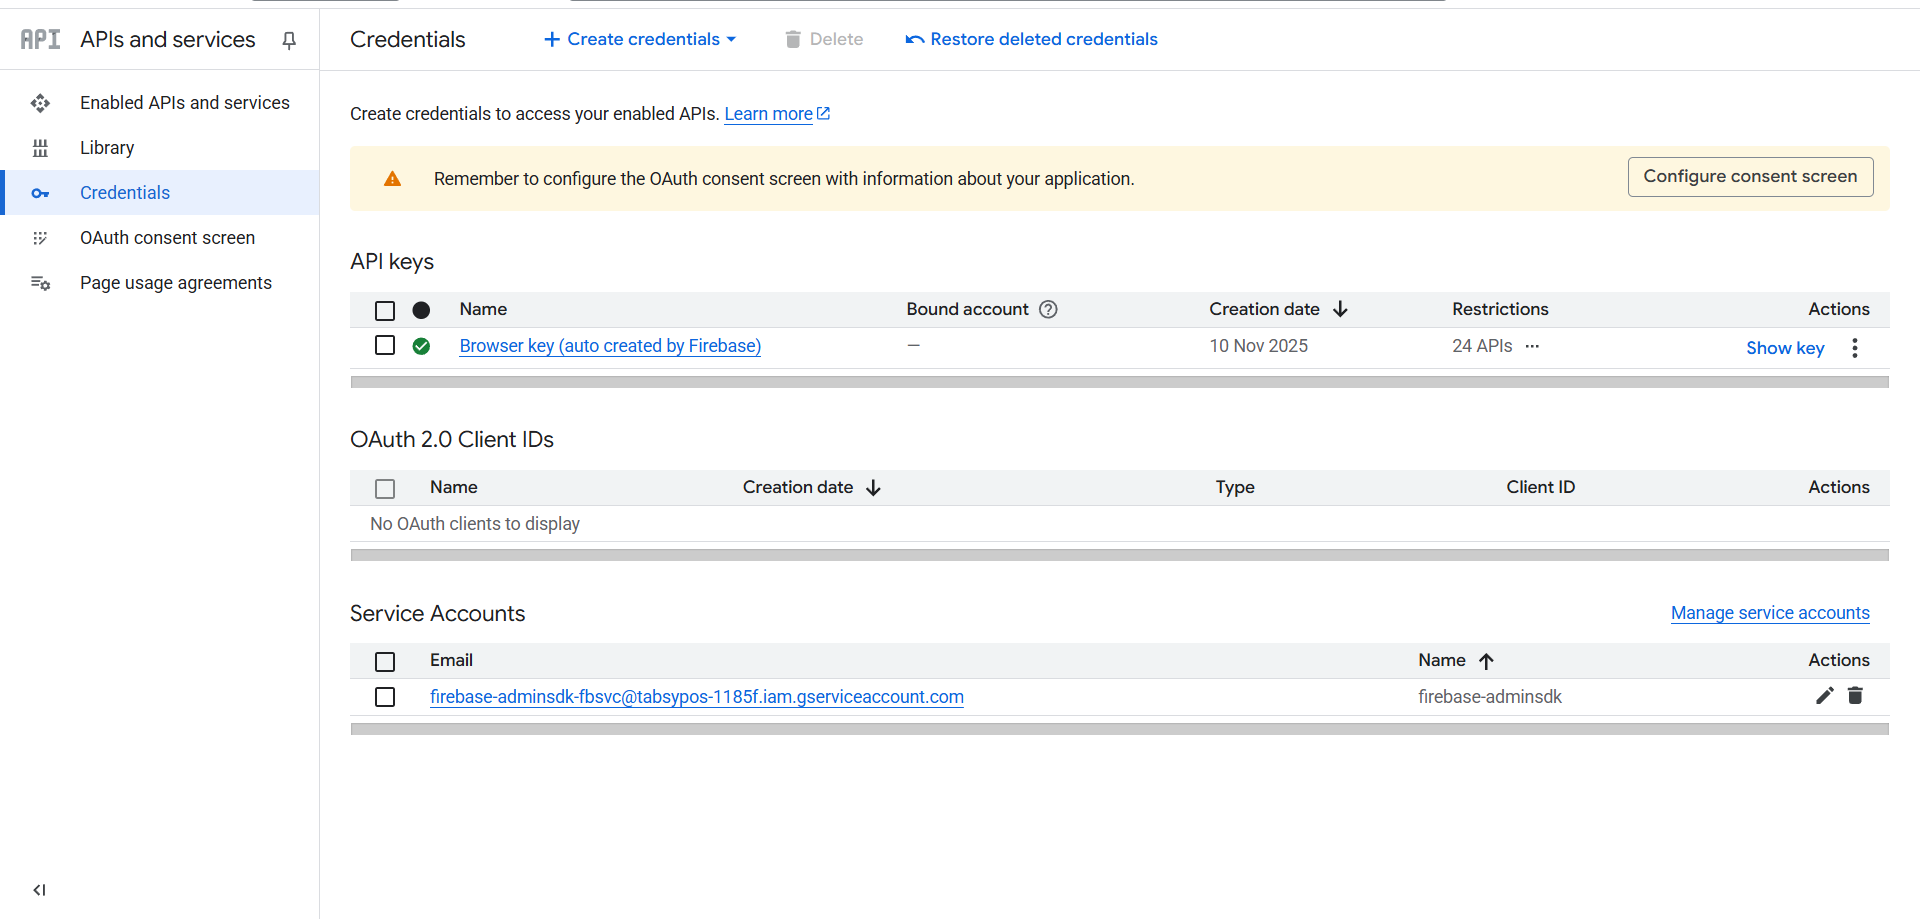
Step 3: Create OAuth 2.0 Credentials
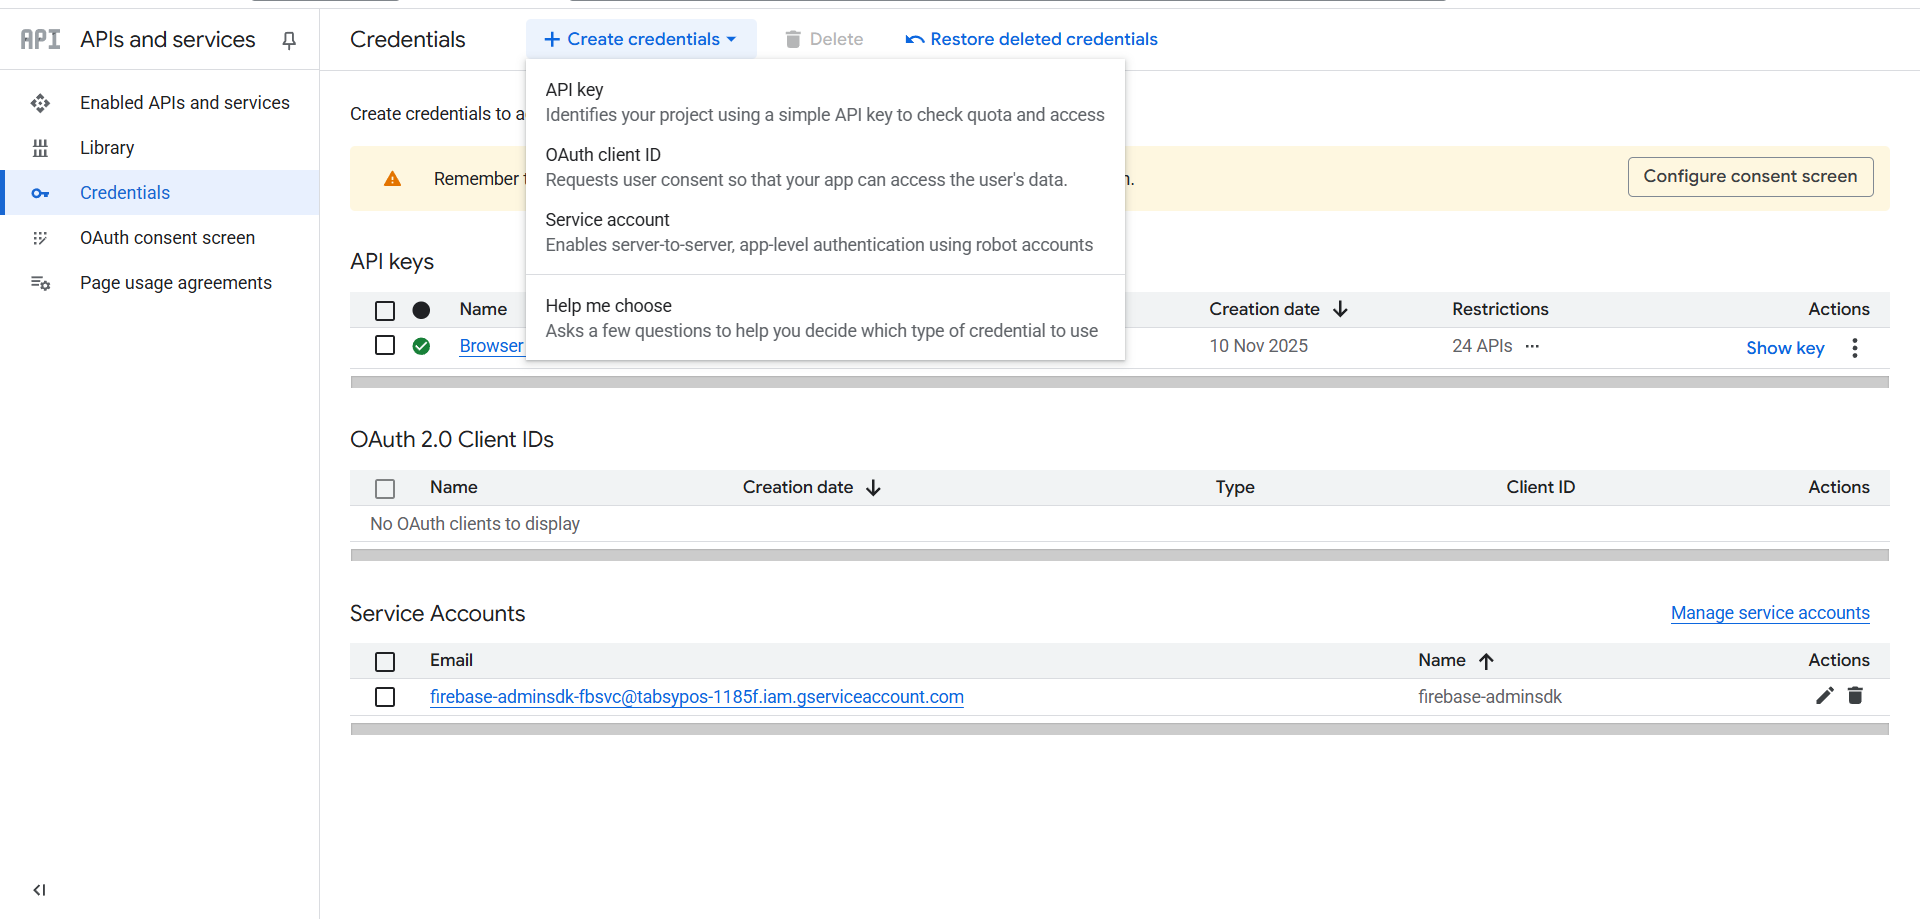
Navigate to APIs & Services → Credentials tab

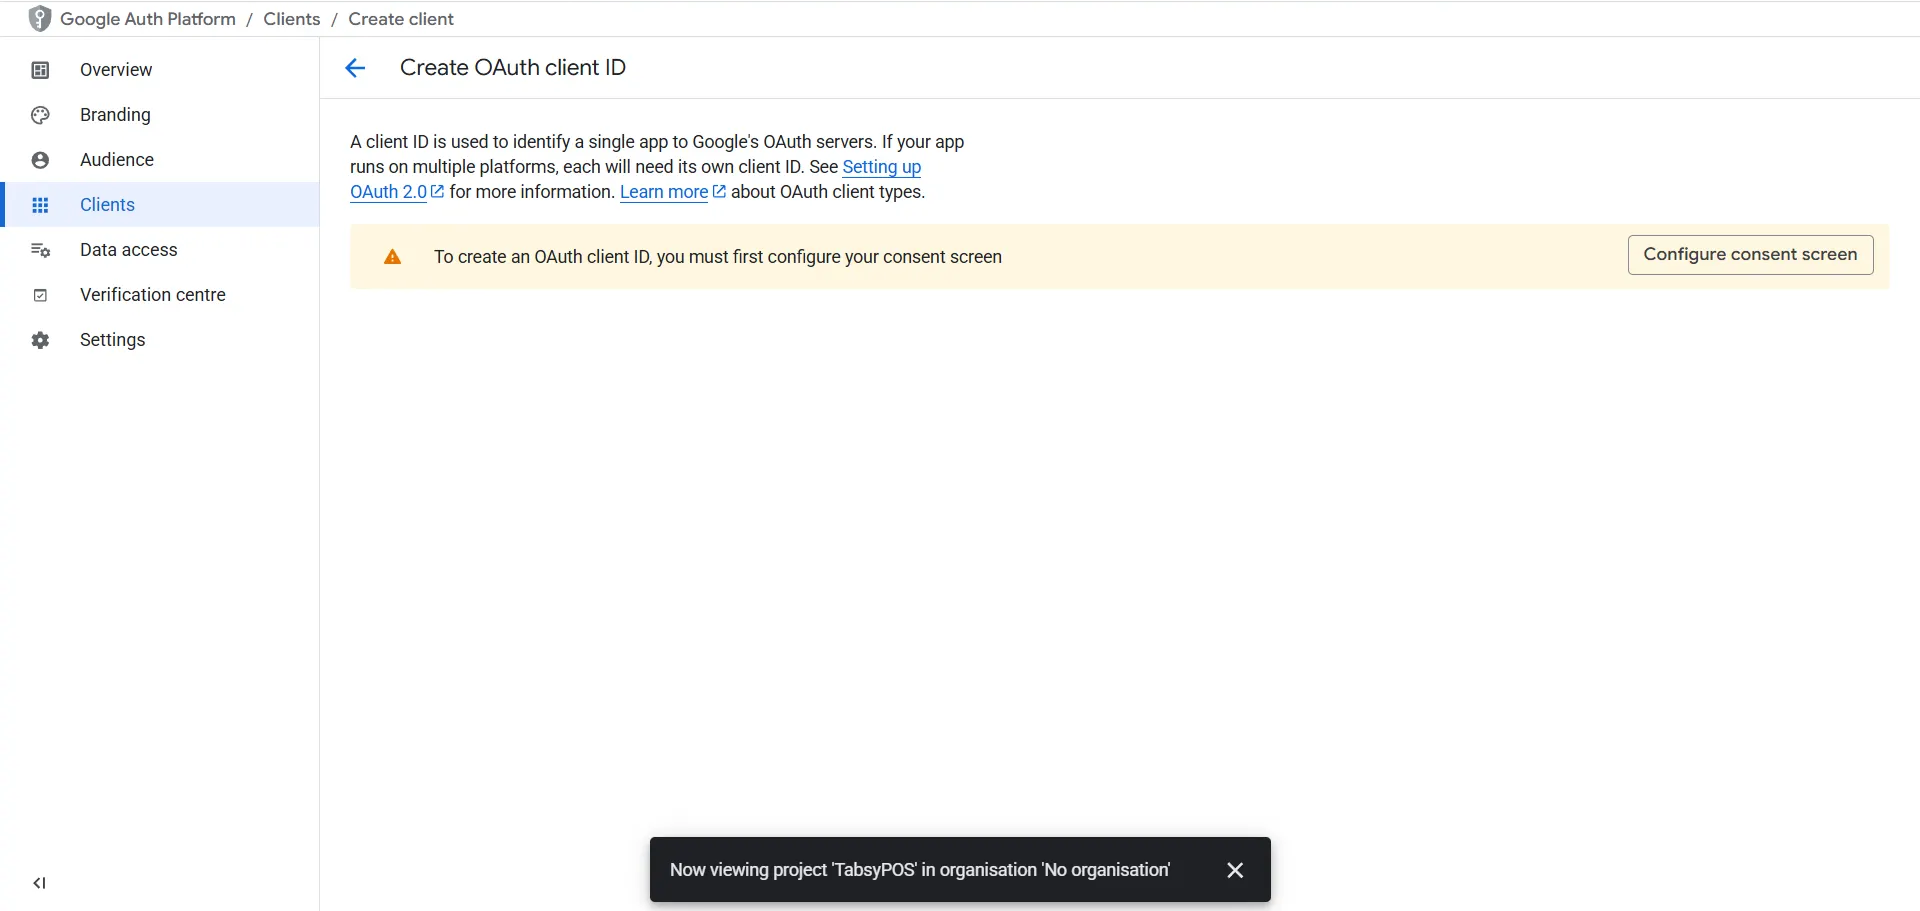
Click Create Credentials → OAuth Client ID
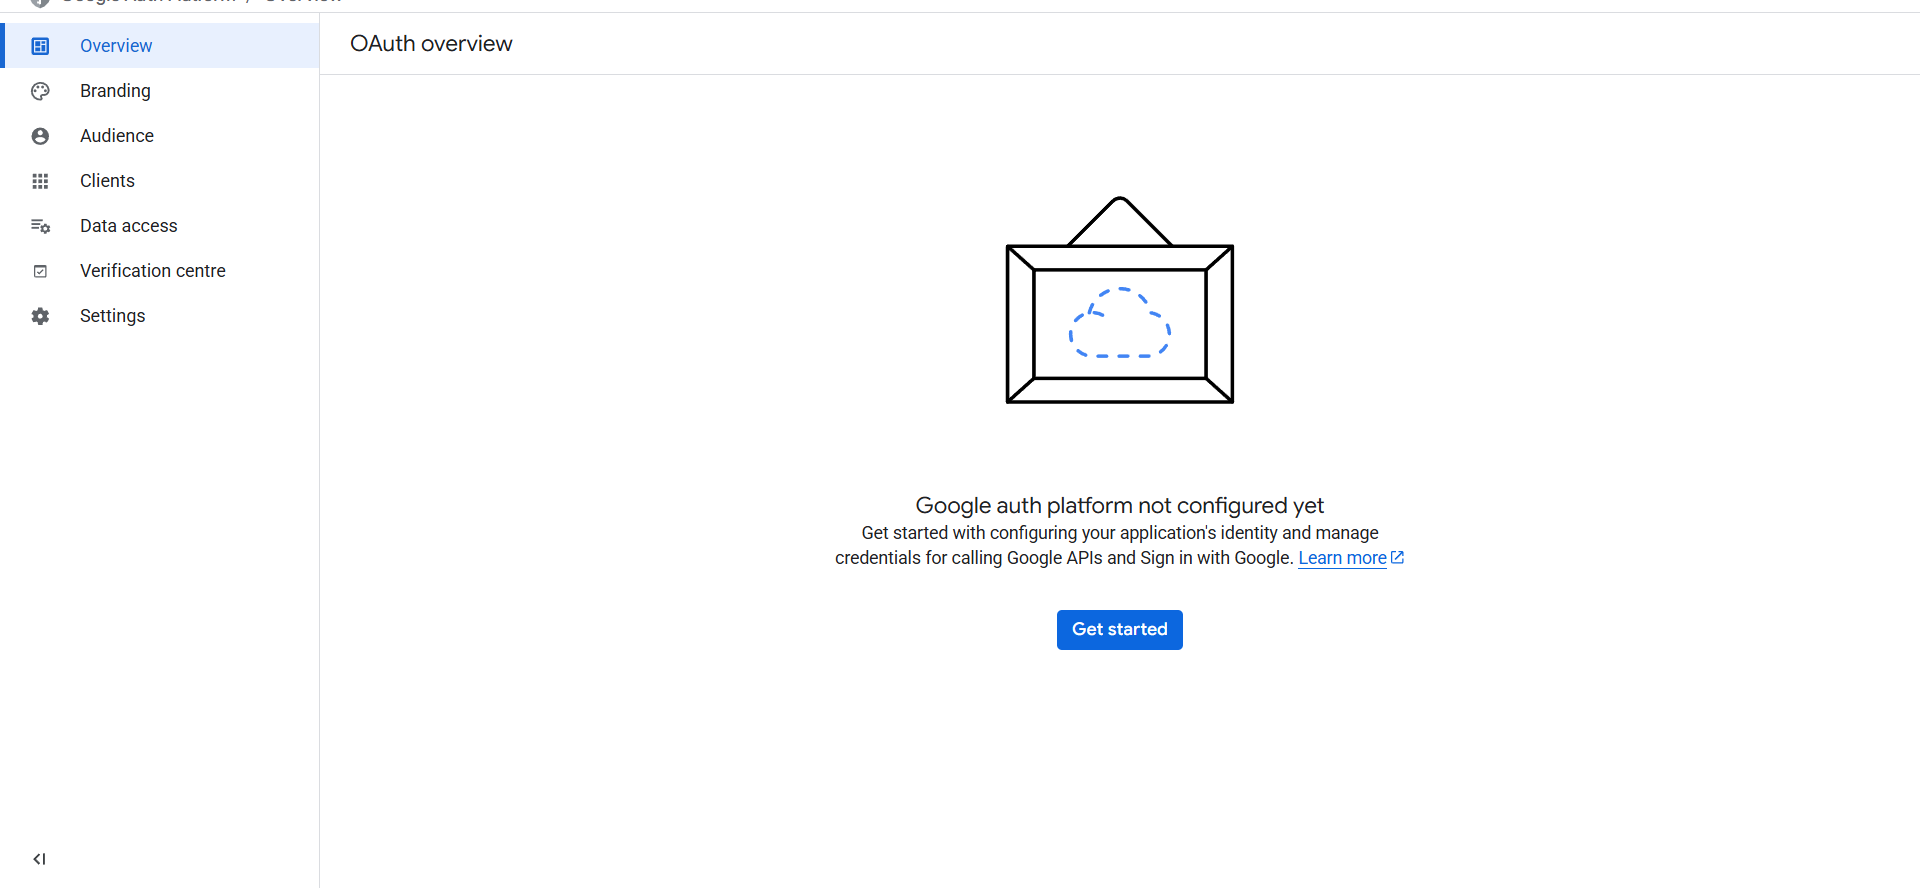
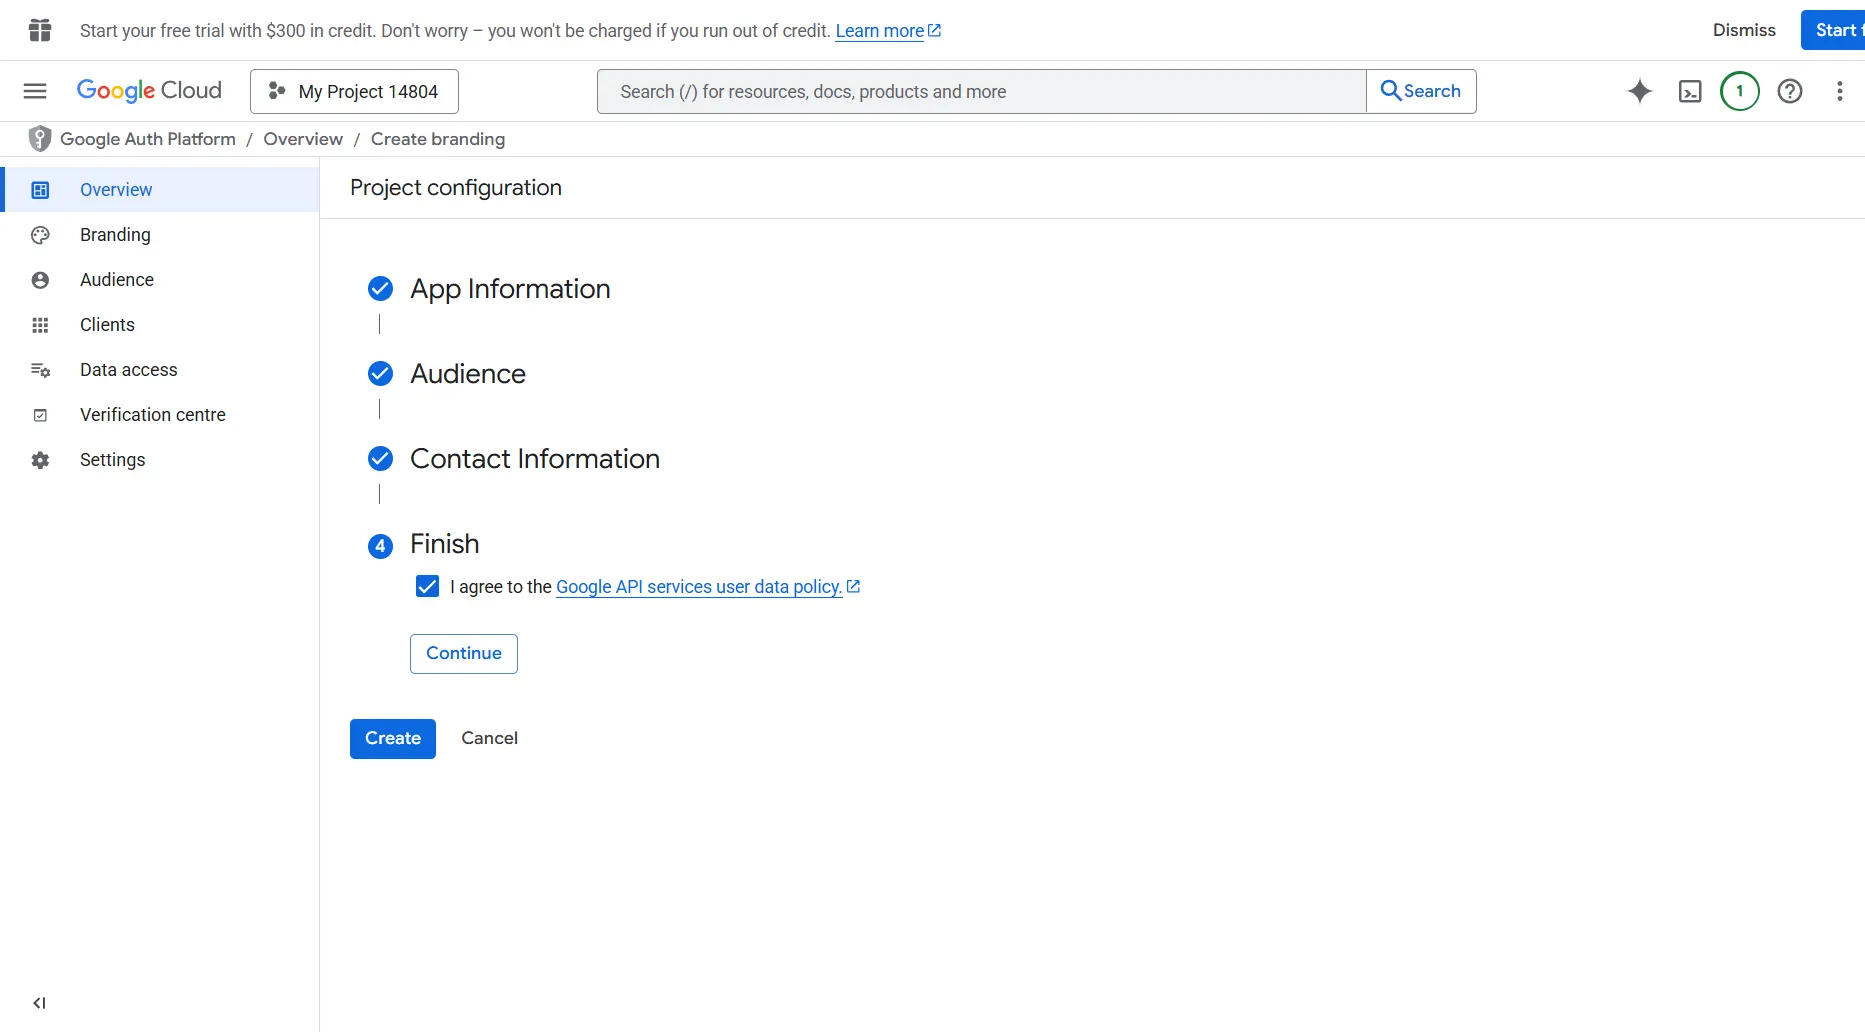
When prompted to create the OAuth Client ID screen, click on the Configure Consent Screen:
Click on “Get Started”
Enter the App name (e.g., TabsyPOS)
Provide a User support email (your Gmail ID)
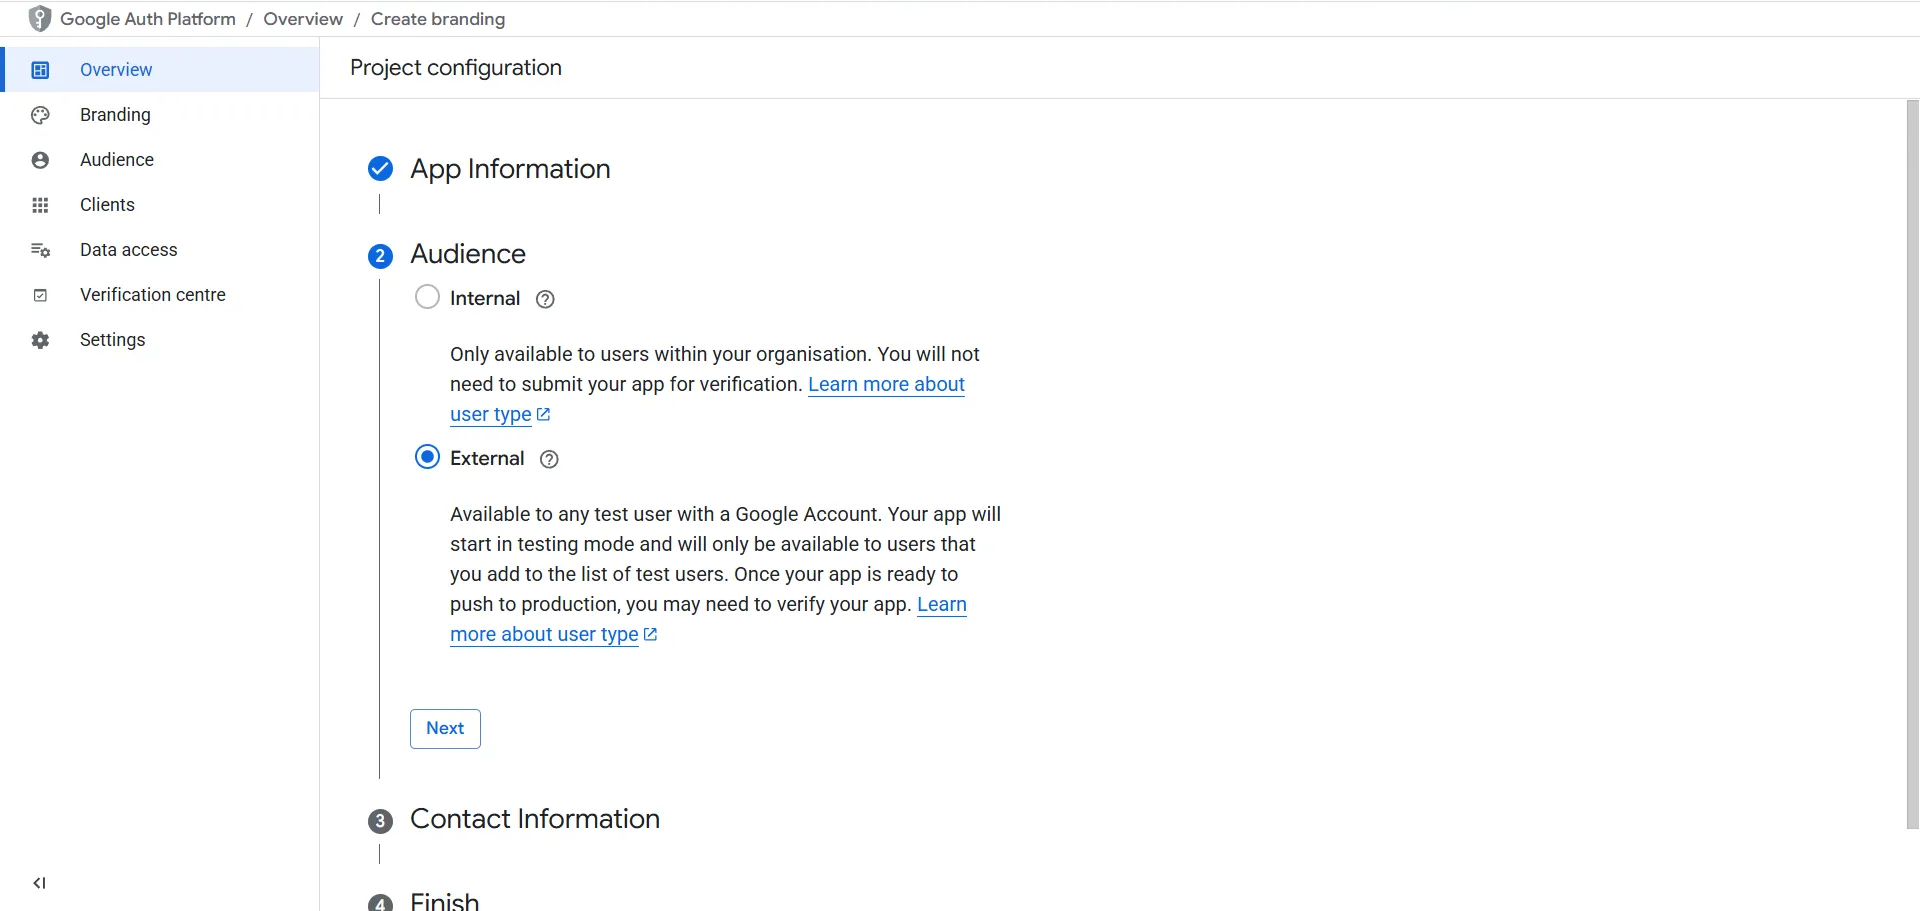
Audience: Select “External”
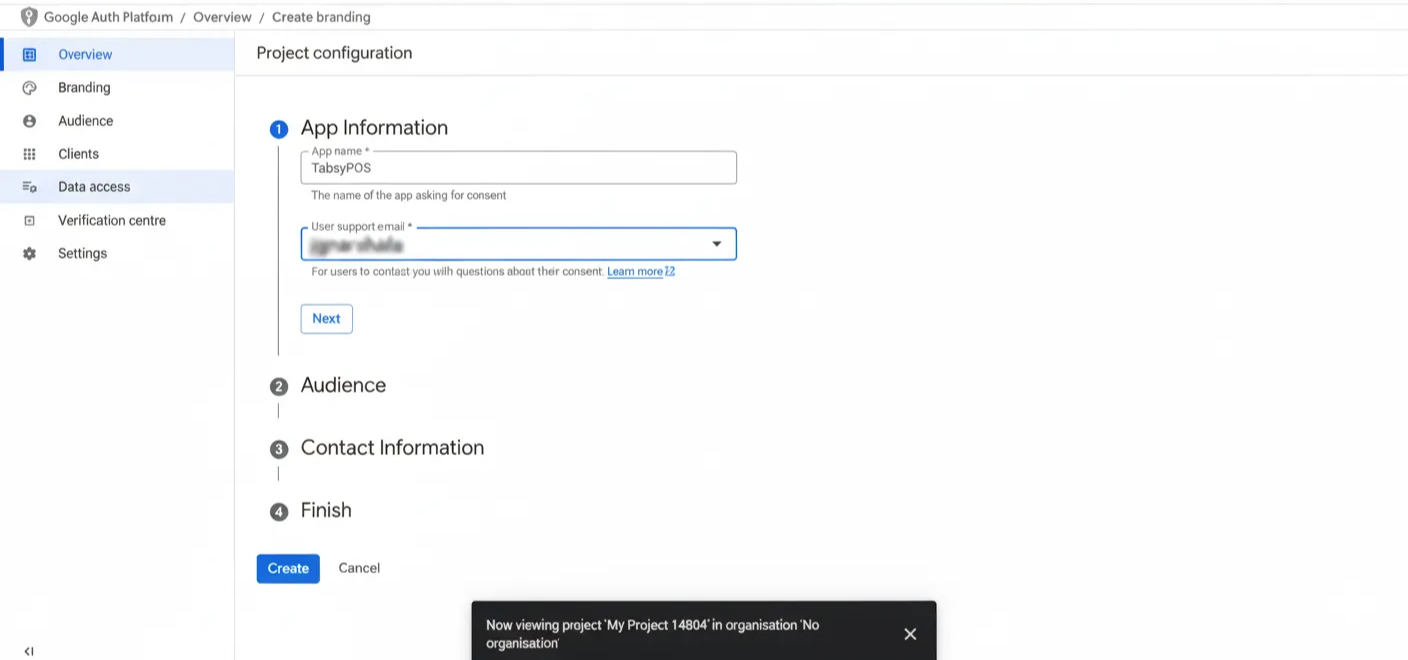
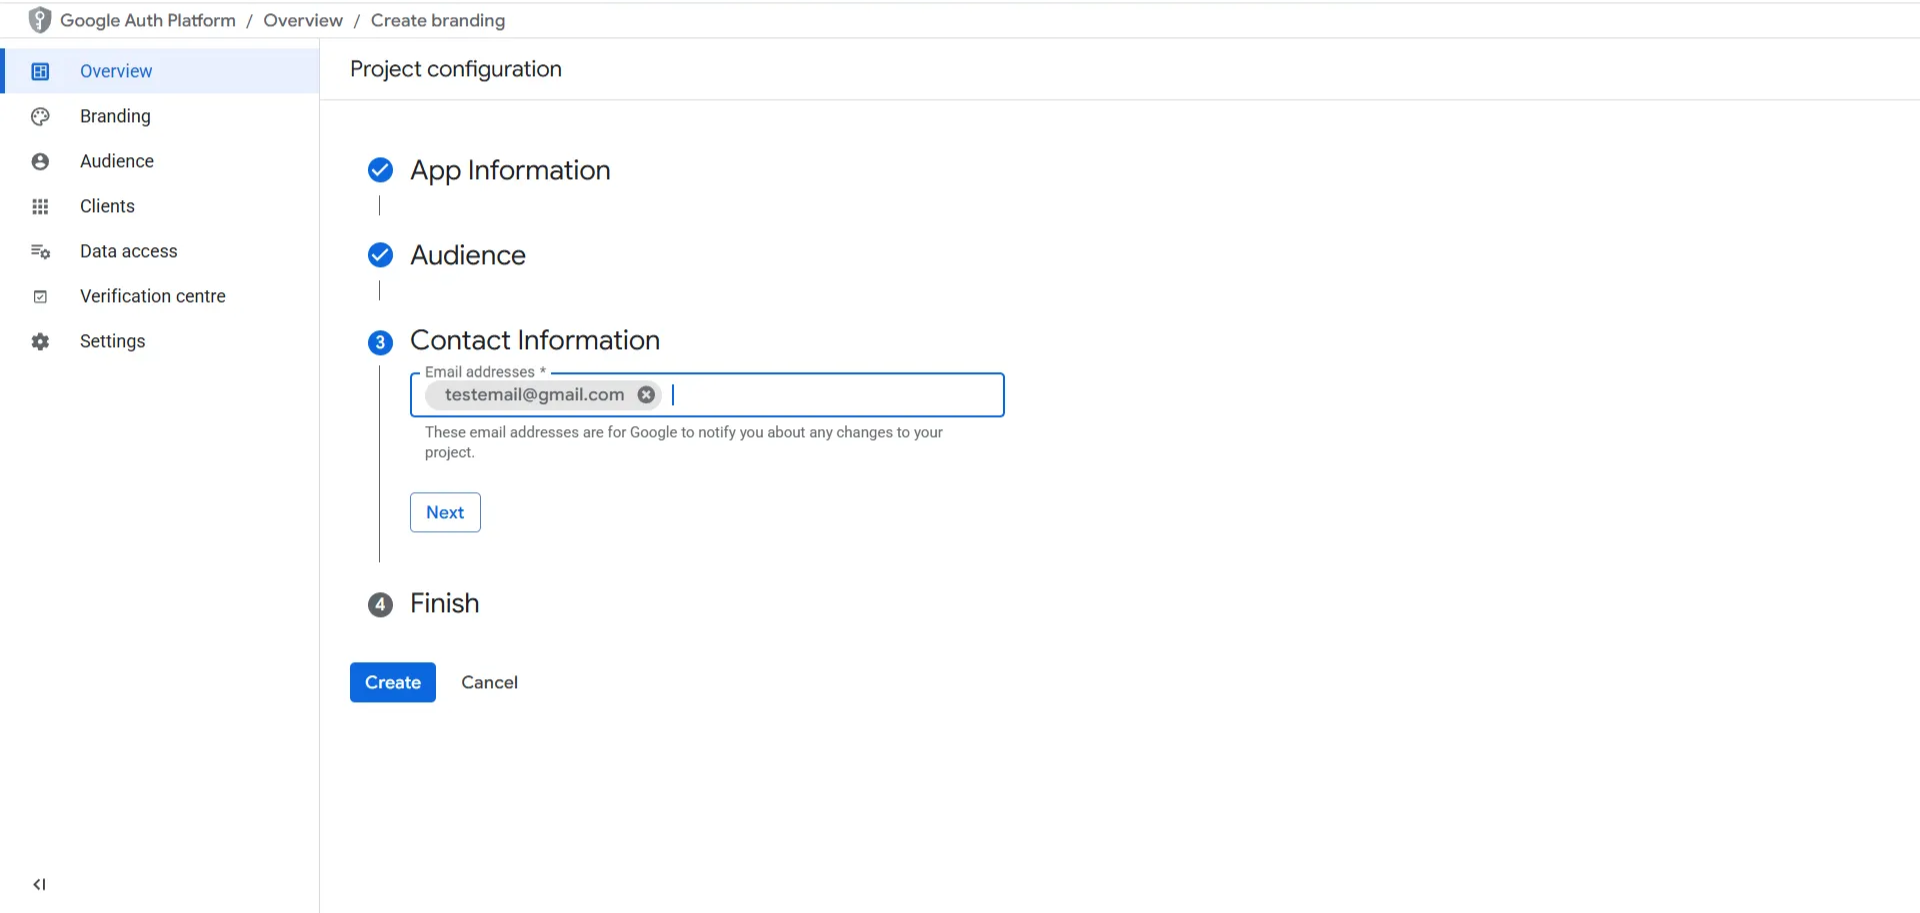
Contact Information: Enter your Contact Email (Your Gmail ID)
Accept Data Privacy and click on “Create”
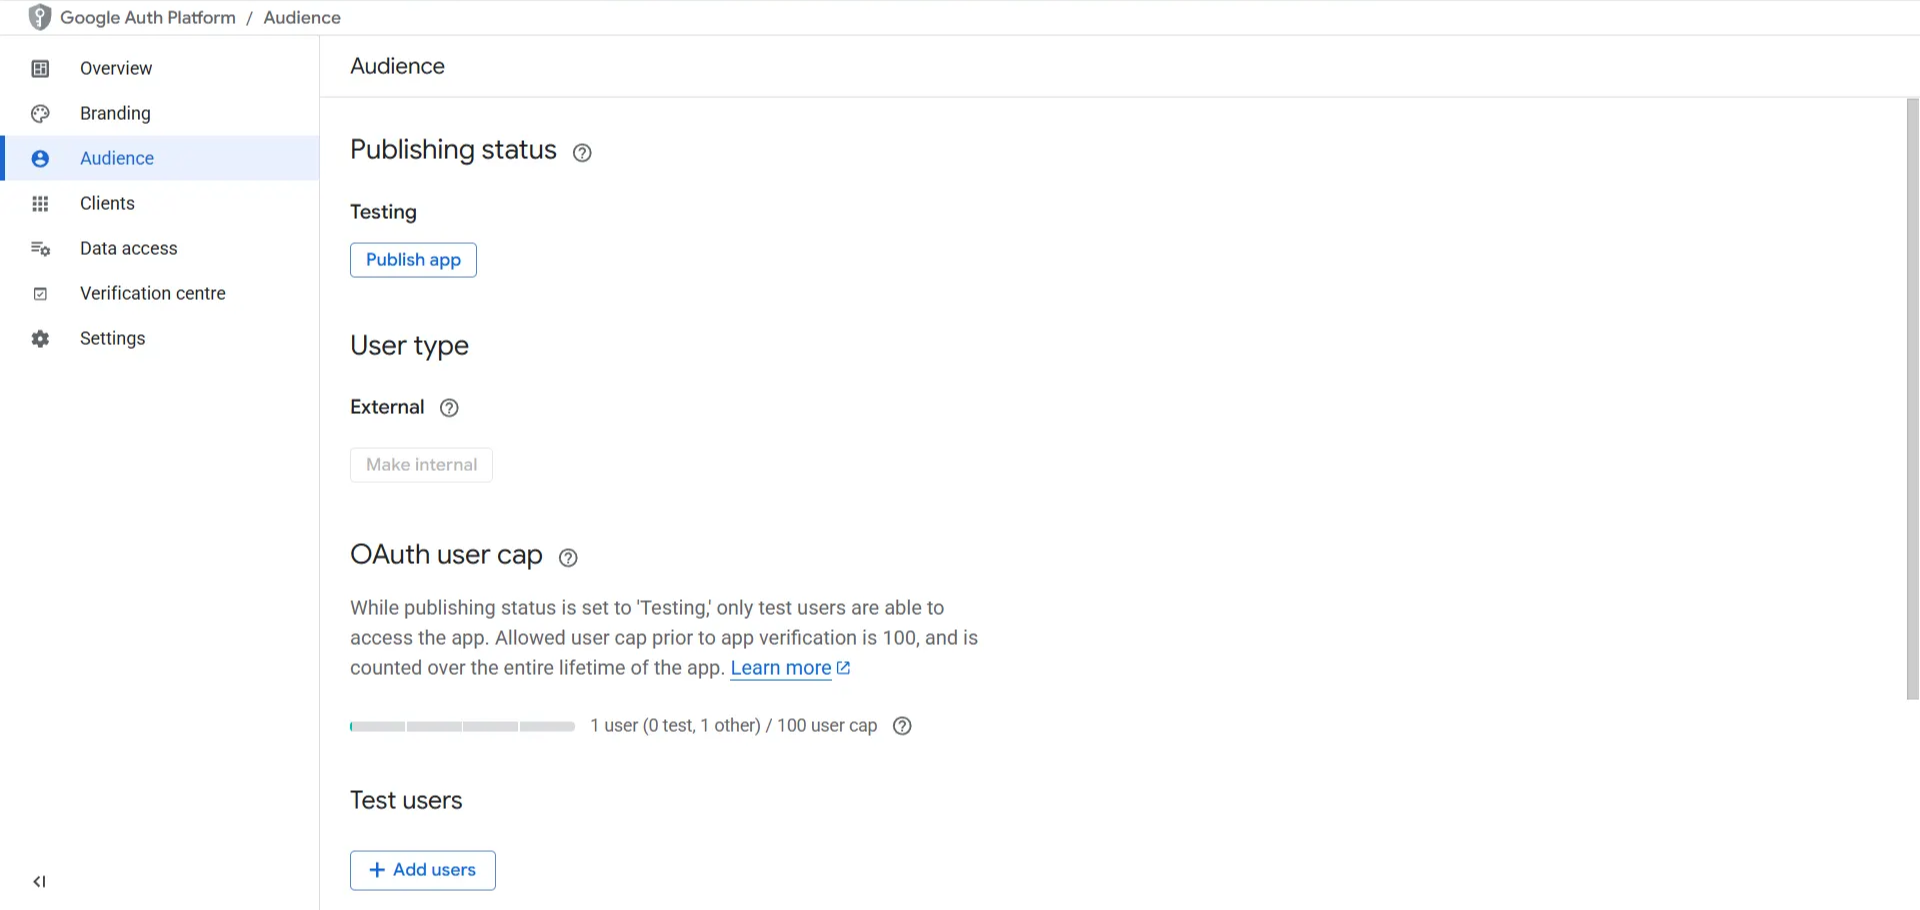
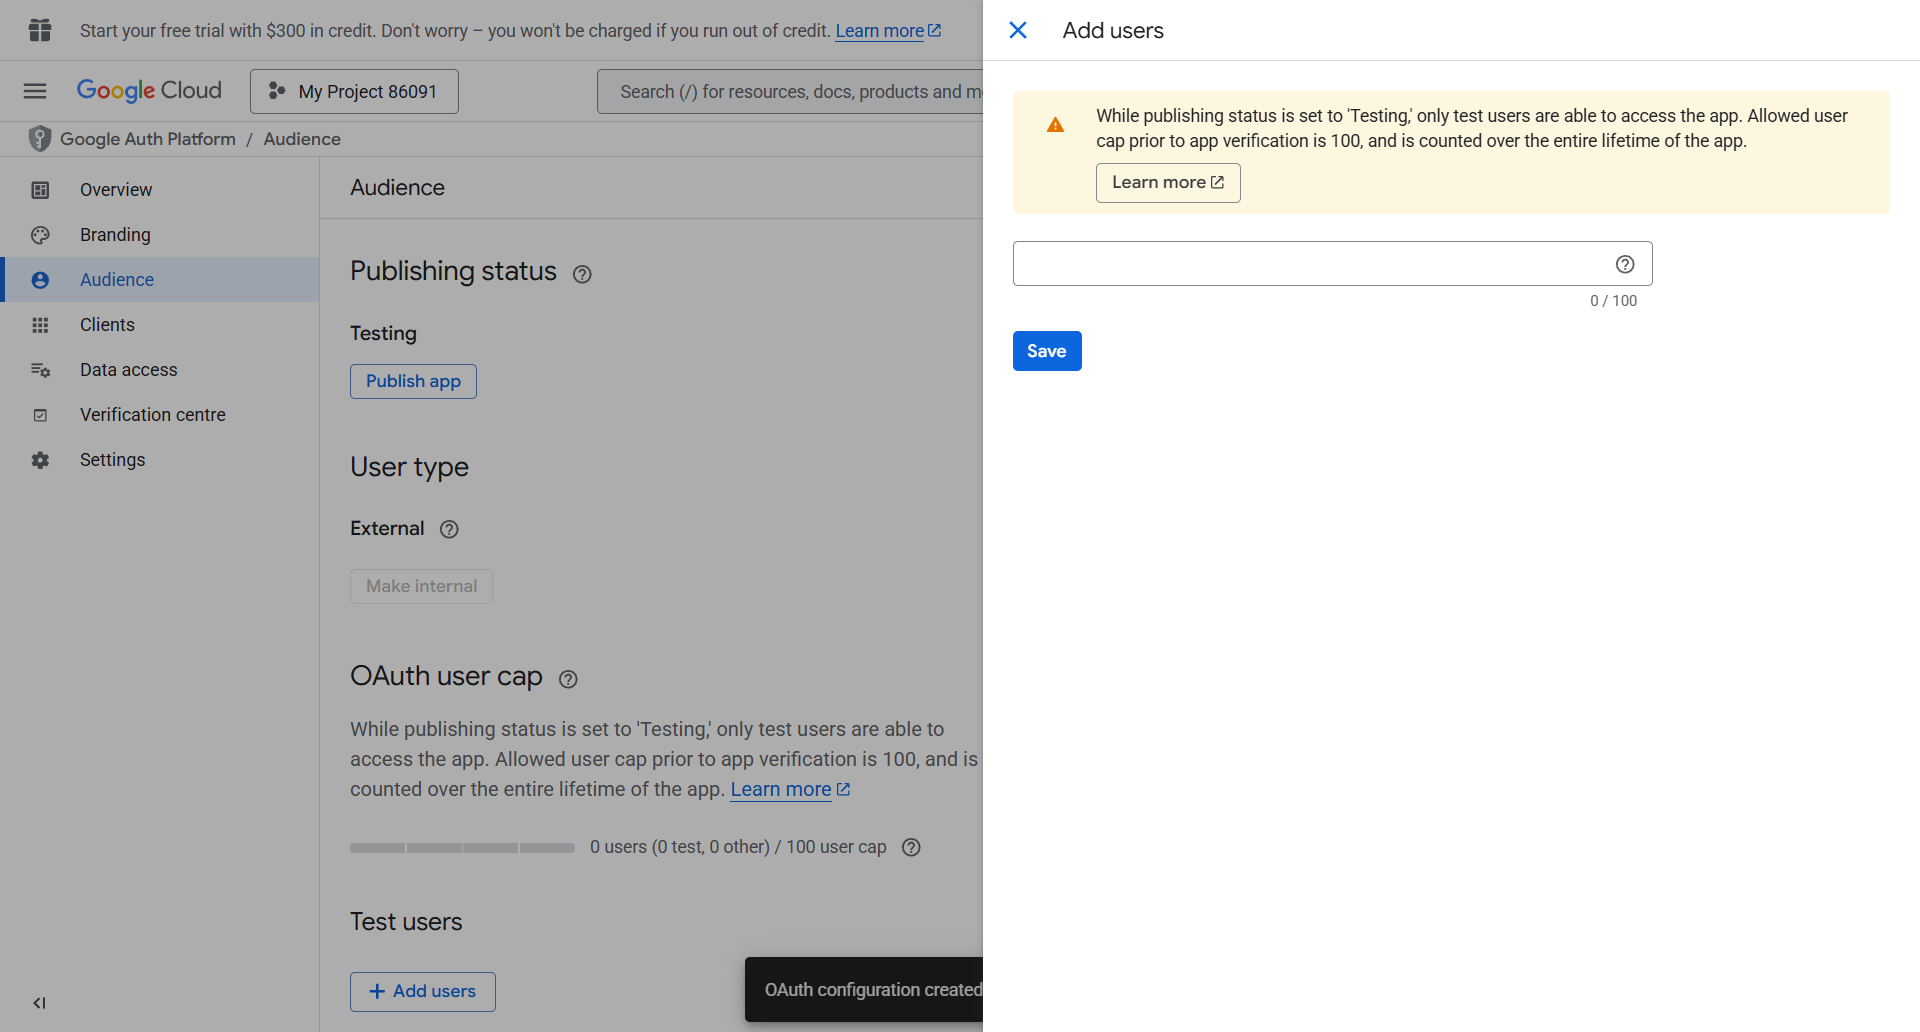
Once this is created, go to Audience and click on Publish App.
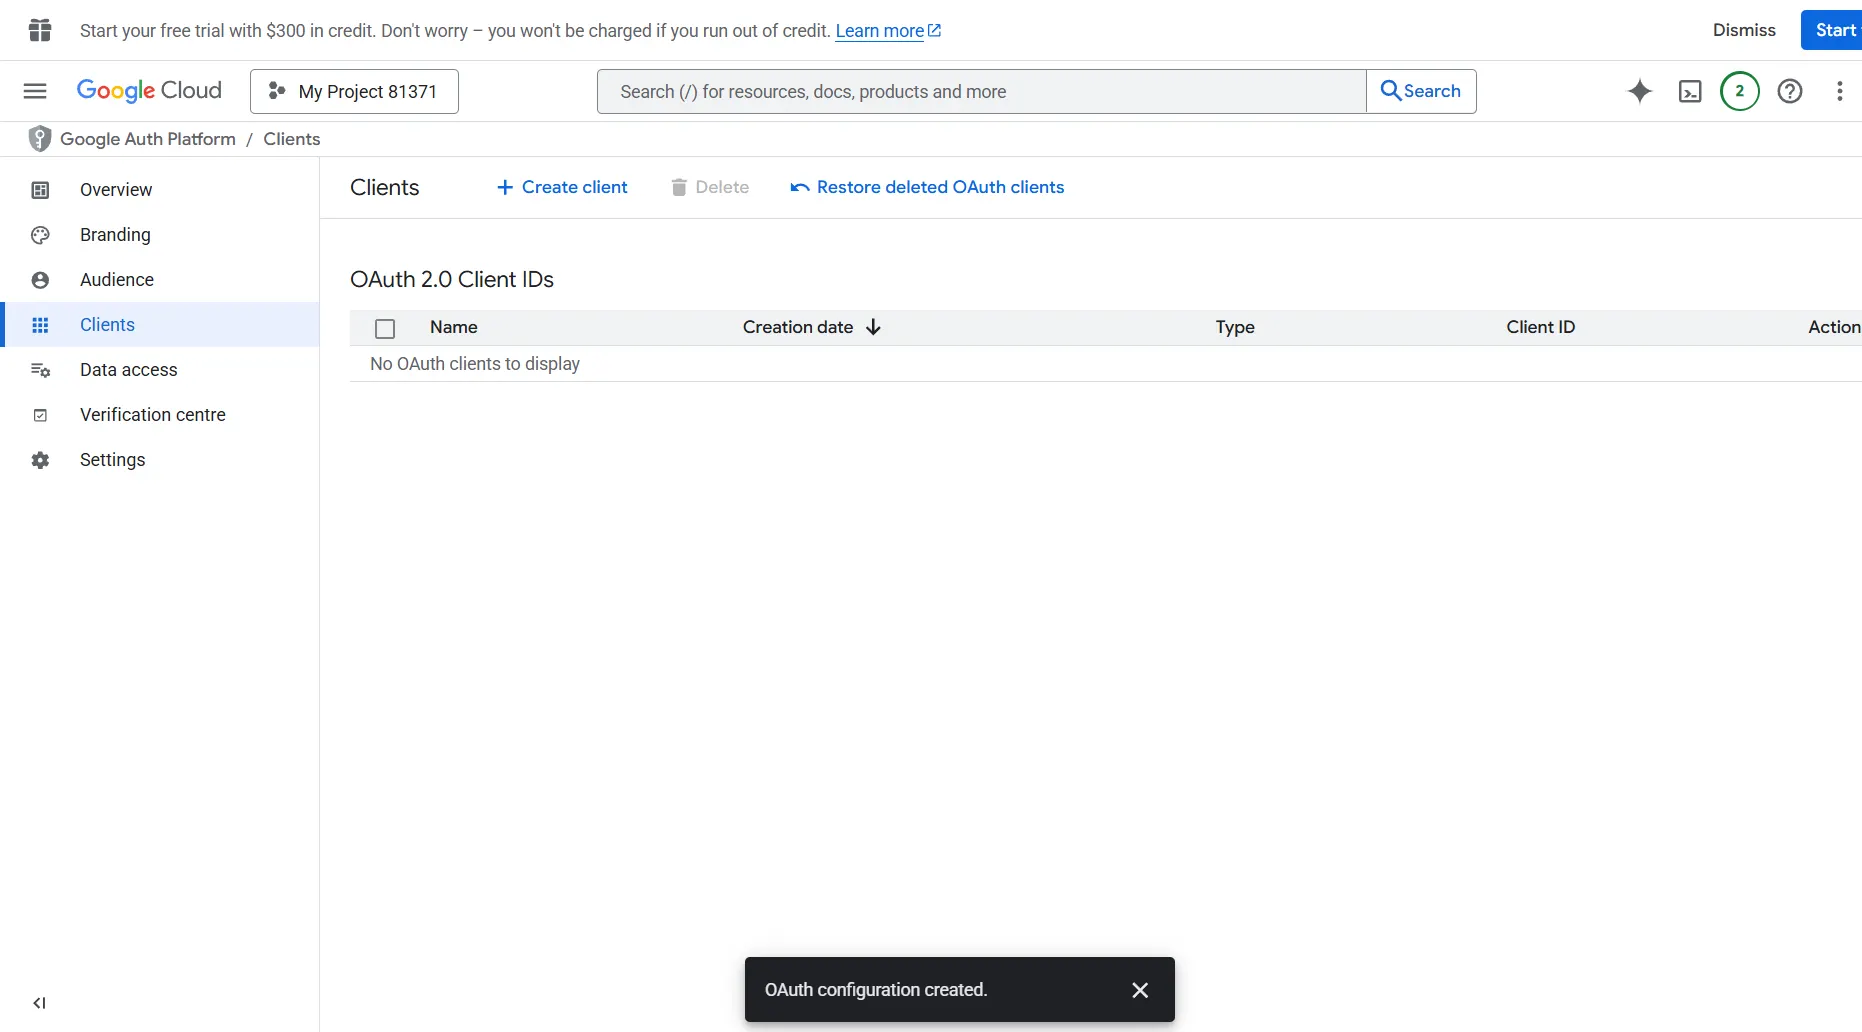
Next is Create OAuth Client. To create Auth Client, go to Clients and click on “Create Client”
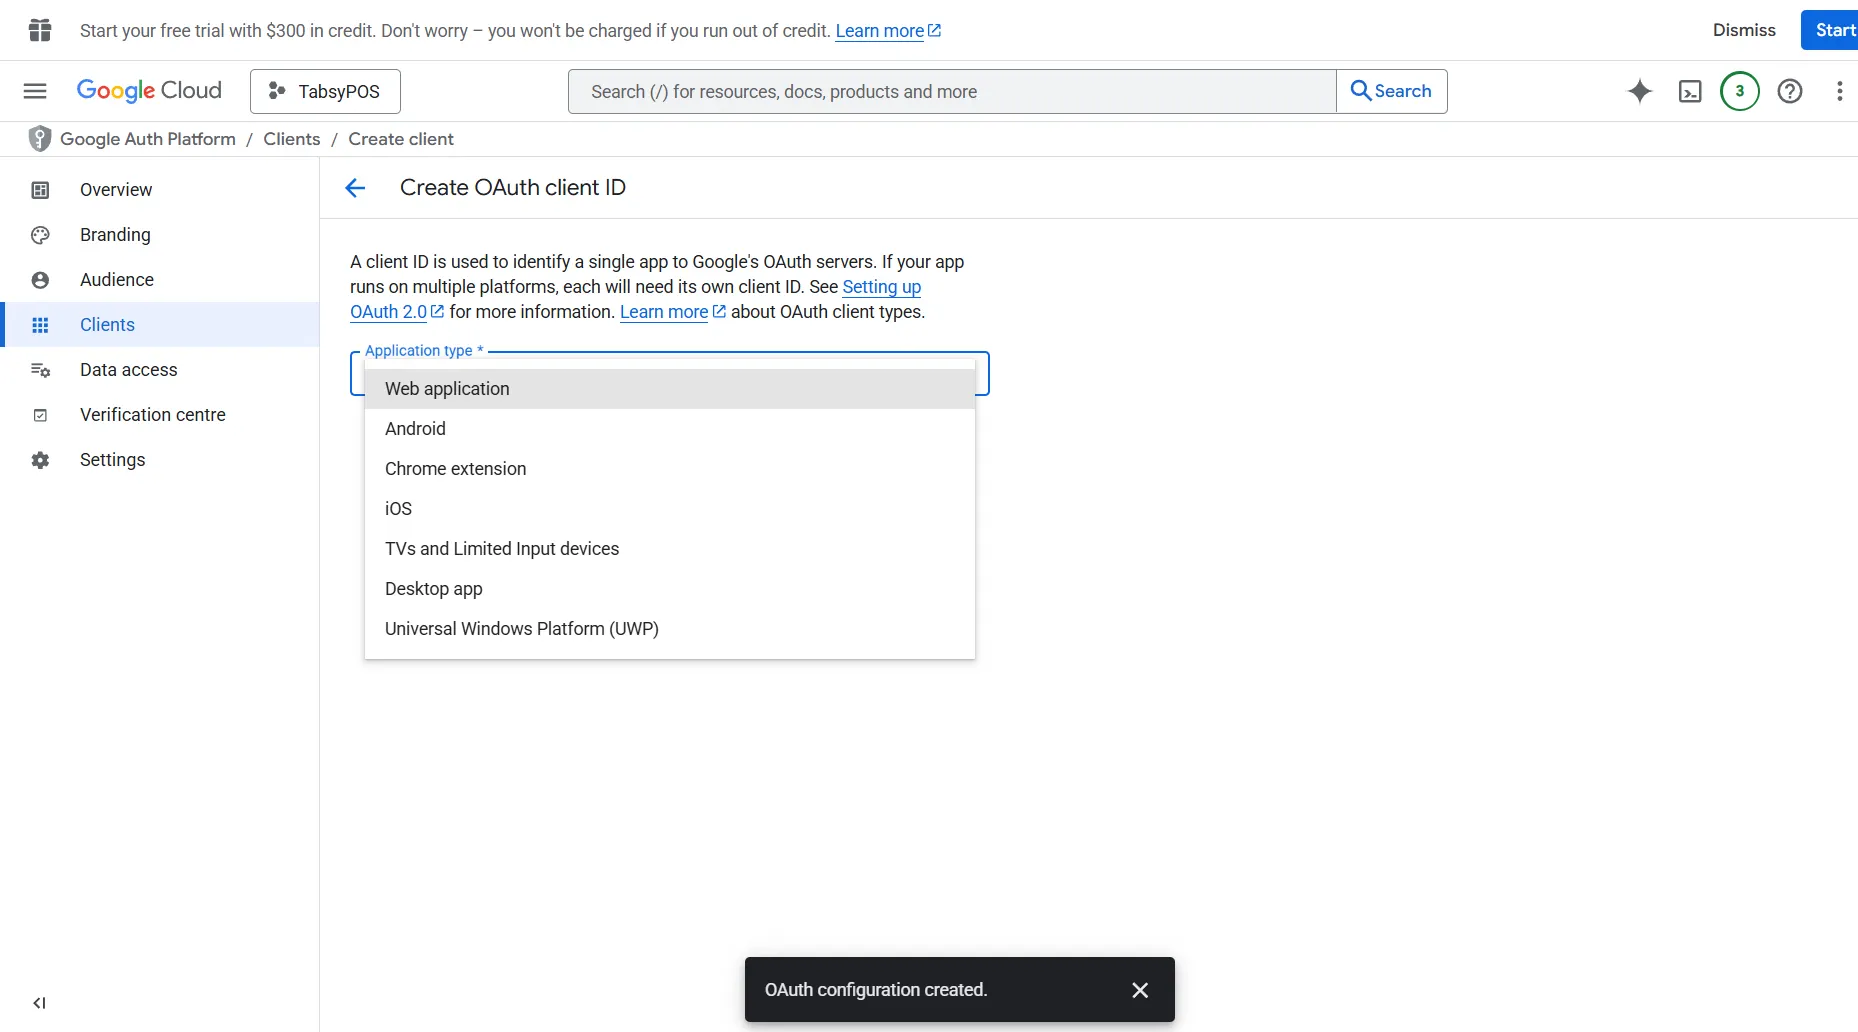
Under Application type, select Web application.
Enter Name: e.g. Tabsy Web
In the Authorised JavaScript origins section, add the app’s URL.
In the Authorised redirect URIs section, add the app’s URL.
Click on Create.
Step 4: Copy and Add the Client ID
After creation, your new OAuth Client ID will be displayed.
Copy this Client ID.
Go to TabsyPOS → Settings → Google API Tab
Paste the Client ID into the Google Client ID field.
Step 5: Connect Your Google Drive
Once the Client ID is saved, you can securely connect your Google account to enable backup and sync with Google Drive.
The integration will now handle file upload, backup, and restore operations directly from within TabsyPOS.